


 SPARK Website
How to Build an Edge AI Object Detection System with the Raspberry Pi 5
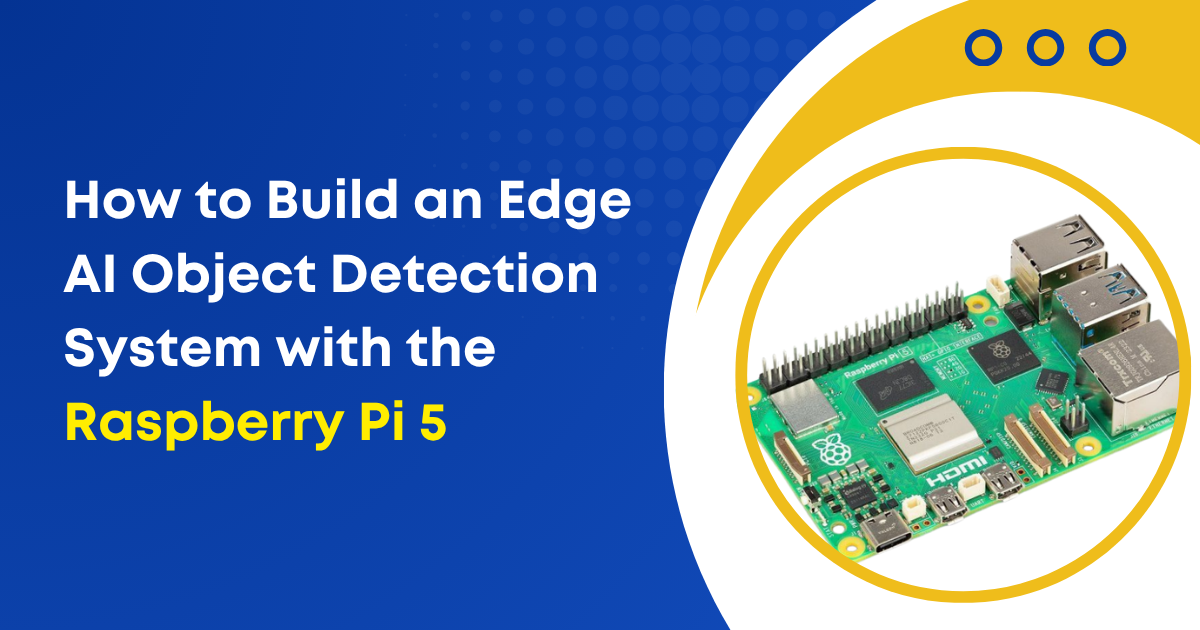
Edge Artificial Intelligence (AI) shifts complex data processing workloads from centralized cloud servers directly to local hardware deployment devices. This deployment architecture minimizes network latency. It saves valuable internet bandwidth while keeping sensitive image data secure on-site. The Raspberry Pi 5 provides a highly capable computing foundation for these local workloads.
The Raspberry Pi platform has evolved from an educational tool into a reliable industrial deployment standard. Building an object detection system on this hardware requires a solid grasp of modern processor capabilities. You must also understand specialized expansion hardware modules and highly optimized neural network software configurations. This comprehensive guide shows you how to design, configure, and maintain a production-grade local computer vision system step by step.
Hardware Architecture and Component Selection
A reliable local object detection system requires balanced hardware components to prevent data bottlenecks between components.
1. The Single Board Computer
The Raspberry Pi 5 delivers up to three times the processing performance of previous board models. Its Broadcom BCM2712 processor features a quad-core ARM Cortex-A76 configuration running at a clock speed of 2.4 GHz. This version introduces an external input-output controller chip called the RP1. This unique chip manages peripheral interfaces and improves camera data throughput across the system board. You should choose the 8GB LPDDR4X random access memory model to ensure sufficient workspace for high-resolution video frames and memory-heavy system software layers.
2. The AI Acceleration Module
The onboard central processing unit can run small object detection models by itself. However, it usually reaches a slow execution speed of only 4 to 8 frames per second. Real-time video tracking applications need much faster performance to remain useful.
The official AI expansion hardware uses a Hailo-8L neural processing unit module. This hardware module connects through an M.2 expansion adapter directly to the single-board computer. The neural processing unit delivers 13 Tera-Operations Per Second of dedicated integer arithmetic performance. This specialized chip handles deep learning math equations so the main processor remains completely free for primary application logic.
3. Essential Supporting Parts
-
Power Supply: Use the official 27W USB-C power delivery adapter. The system needs 5 amperes at 5.1 volts to support the neural processing module during intense workloads.
-
Cooling System: Use the active aluminum cooler module. The acceleration chip and main processor generate significant heat under continuous execution workloads.
-
Camera Module: The Camera Module 3 or the High-Quality Camera work well. Connect your selected camera hardware using the dedicated high-speed camera interface lanes.
Technical Specifications and Performance Data
The hardware platform demonstrates significant performance differences between pure central processing unit execution and hardware-accelerated execution modes.
-
Central Processing Unit Only: Running a standard YOLOv8s model with 8-bit integer quantization at a standard resolution of 640 by 640 pixels yields an execution speed of 4 to 5 frames per second. The system draws approximately 7.5 watts of power under this specific computational load.
-
Acceleration Module with Second Generation Connection: Running the identical YOLOv8s model at the same resolution yields an execution speed of 38 to 40 frames per second. The system draws approximately 8.2 watts of power during this operational mode.
-
Acceleration Module with Third Generation Connection: Running the identical YOLOv8s model at the same resolution yields an execution speed of 80 to 120 frames per second. The system draws approximately 9.1 watts of power during this peak operational mode.
The empirical data proves that dedicated hardware acceleration reduces image processing times drastically. Changing the internal connection interface from second-generation speeds to third-generation speeds doubles the total system processing capacity.
Software Infrastructure Setup
You need an environment with correct system drivers and libraries to use the hardware acceleration module properly.
1. Operating System Setup
Install the 64-bit version of the official operating system using the desktop imaging utility. Open your terminal window and update the software repositories to pull down the newest package indexes. Use the system package manager to upgrade all existing core configuration tools.
2. Enable the High Speed Interface
The main boot configuration text file must be modified to use maximum data connection speeds. Open the main configuration file using a terminal text editor. Add specific configuration lines to the bottom of the file to enable the third-generation interface speed. You must also turn off the automatic power management features on that specific connection data path to prevent sudden frame drops during recording. Save your modifications and restart the single board computer immediately to apply the changes.
3. Install Core Driver Packages
The operating system software needs specific kernel libraries to communicate with the acceleration hardware components. Install the hardware diagnostic tools and the official camera application firmware packages using the system package tool. Verify the hardware connection by running the official command-line control diagnostic utility. The terminal will print out the unique hardware serial number and the active firmware version of your acceleration module if the connection works.
Developing the Object Detection Application
The official camera application software stack uses modern deep learning frameworks directly. This design avoids the complex manual setup steps of older open-source software configurations.
1. Create an Isolated Virtual Environment
Isolation prevents software version conflicts between global operating system python development libraries and project libraries. Create a new virtual directory that inherits system site packages. Activate this environment in your terminal window before installing any further automation tools.
2. Structure the Main Application Logic
Create a new script file to handle the main automation logic. This script captures video frames from the camera interface, sends them directly to the active acceleration module, and receives object tracking coordinates. The application logic must include a specialized processing function to draw bounding box indicators over recognized targets on the screen.
The software initializes the video camera unit using a standard target resolution of 640 by 480 pixels with a standard color format. It then activates the hardware acceleration network overlay by calling the compiled model name. The main execution loop captures raw array data, extracts the network metadata, applies the visual markers, and displays the final video stream inside a local window. The application continues running smoothly until an operator presses the designated quit key on the keyboard.
Model Conversion and Optimization
The hardware acceleration module cannot read raw training framework files like PyTorch or TensorFlow model files directly. You must convert your custom models into a specific hardware-compatible format using strict quantization techniques.
1. The Exporting Phase
Export your custom trained model into an intermediate open neural network exchange platform format. This step defines the layer connections and mathematical operations in a standardized format. You must lock the input image size to a square format of 640 by 640 pixels during this export phase to match the native execution format of the underlying hardware accelerator.
2. The Quantization Phase
Deep neural networks use 32-bit floating-point numbers for training weights to maintain high numerical precision. However, the local acceleration module uses 8-bit integers to achieve maximum processing throughput. Use the optimization compiler tool to convert the mathematical precision of your network layers.
This conversion step compresses the total model file size by roughly 75 percent. This drastic size reduction allows the complete model weight file to fit inside the local static memory cache of the accelerator chip. This physical placement eliminates the need to fetch weights from external memory during live video evaluation.
System Performance Tweaks
You can optimize several system settings to keep frame rates completely stable during continuous field operation.
-
Adjust Model Batch Sizes: Set your video stream evaluation batch size to a value of 8. Structural tests show this specific value increases total processing speed to nearly 120 frames per second when running optimized models under a third-generation connection interface.
-
Limit Desktop Memory Allocations: Do not run graphical user interface desktop tools if you deploy the system outdoors or in remote areas. Running the core operating system in terminal-only mode saves up to 1.2 gigabytes of system random access memory for your main application.
-
Keep Input Resolutions Consistent: Scale raw camera video streams to exactly 640 by 640 pixels inside the camera configuration layer before sending data to the neural processing unit. This configuration choice prevents the main central processing unit from wasting computational clock cycles on image resizing tasks.
-
Optimize Thermal Performance: Ensure your active cooling fan profile triggers at 55 degrees Celsius. Keeping the core temperature low prevents the single board computer from throttling its clock speeds during hot afternoon operation.
Data Management and Privacy at the Edge
Deploying an object detection system on local hardware introduces massive benefits for data management and security compliance. Traditional cloud camera systems stream raw video data continuously over public infrastructure networks. This architecture creates high security vulnerabilities and exposes sensitive visual data to intercept threats.
A local system eliminates these security challenges by processing all video information within the physical boundaries of the device. The raw video frames exist only within the volatile random access memory of the single board computer for fractions of a second. Once the neural processing unit extracts the tracking coordinates and classification labels, the system discards the raw frame entirely. The system transmits only tiny text strings containing metadata across the local network. This structural design satisfies strict data privacy laws effortlessly while cutting data storage costs down to zero.
Commercial Applications and Use Cases
The combination of high computing power and small physical size makes this hardware setup ideal for multiple commercial industries.
1. Industrial Automation and Quality Control
Factory assembly lines utilize local vision systems to inspect products moving along fast conveyor belts. The system inspects item shapes, counts manufactured parts, and detects surface defects in real time. Because the acceleration module processes frames at over 80 frames per second, the system can flag broken items instantly without slowing down production speeds.
2. Smart Retail and Foot Traffic Analysis
Retail stores deploy local sensors above entryways to count customer foot traffic and map shopping behaviors. The system detects human figures to calculate occupancy levels without storing facial features or personal identifiable details. Store managers receive accurate hourly data reports while shoppers retain total anonymity.
3. Agricultural Monitoring and Robotics
Automated agricultural tools use local vision systems to identify crop diseases and manage weed growth in remote fields. These machines operate in locations completely devoid of cellular network connections. The local processing hardware allows agricultural drones and automated tractors to navigate field rows, identify target weed species, and apply treatment chemicals precisely without requiring any cloud connectivity.
Conclusion
Building a local computer vision system with the Raspberry Pi 5 combines affordable component costs with professional execution speeds. Adding an external 13 TOPS hardware accelerator allows you to process high-speed video streams locally. This local approach bypasses the high communication latency and costly monthly subscription fees of commercial cloud processing services. Real-time edge object detection provides a highly reliable, private, and secure solution for modern industrial automation projects, physical security monitoring setups, and smart robotics development.

 عربي
عربي